DIY Media
DIY Media Production
In Hollywood, there are typically 3 phases to a movie project: Pre-Production, Production and Post-Production. While you may not be attempting Hollywood-caliber educational content (though maybe you are!), these three phases are helpful to consider for all the choices, tools and best practices.
Robust resources for every stage of production
- The campus Webstore offers free and discounted access to several media production tools such as Adobe Creative Cloud. Adobe Express is a web-based content authoring tool and their desktop applications like Premiere and After Effects provide novice and advanced users more options.
- The University System provides free access to LinkedIn Learning (formerly Lynda.com). There are trainings and sample project files for just about any software including Adobe Creative Cloud.
Pre-production techniques for before you hit record
Richard Mayer’s Principles for Multimedia Learning offer a solid framework around educational media design. Below is a short summary video and linked here is a 1.5-hour talk by Mayer on Evidence-Based Principles for Designing Effective Multimedia Instruction
Here are some additional resources for pre-production:
- 6 Tips for Recording On-camera Lectures
- Prepare recorded content similarly to delivering other teaching. If scripting, consider writing for your natural voice and using simple language.
- Strategic Communications offers branded and accessible PowerPoint templates. These are great for keeping with information hierarchy concepts and ensuring any slides you use are not overly dense with text.
- Rather than a hassle after you record, consider applicable Copyright law of various assets you plan to use which you did not create. See our Copyright Resources page for more information.
- Accessibility is often handled in post-production, but consider describing visual content while you present to meet diverse student needs (see Integrated Description) and also consider addressing color contrast of text and images before recording.
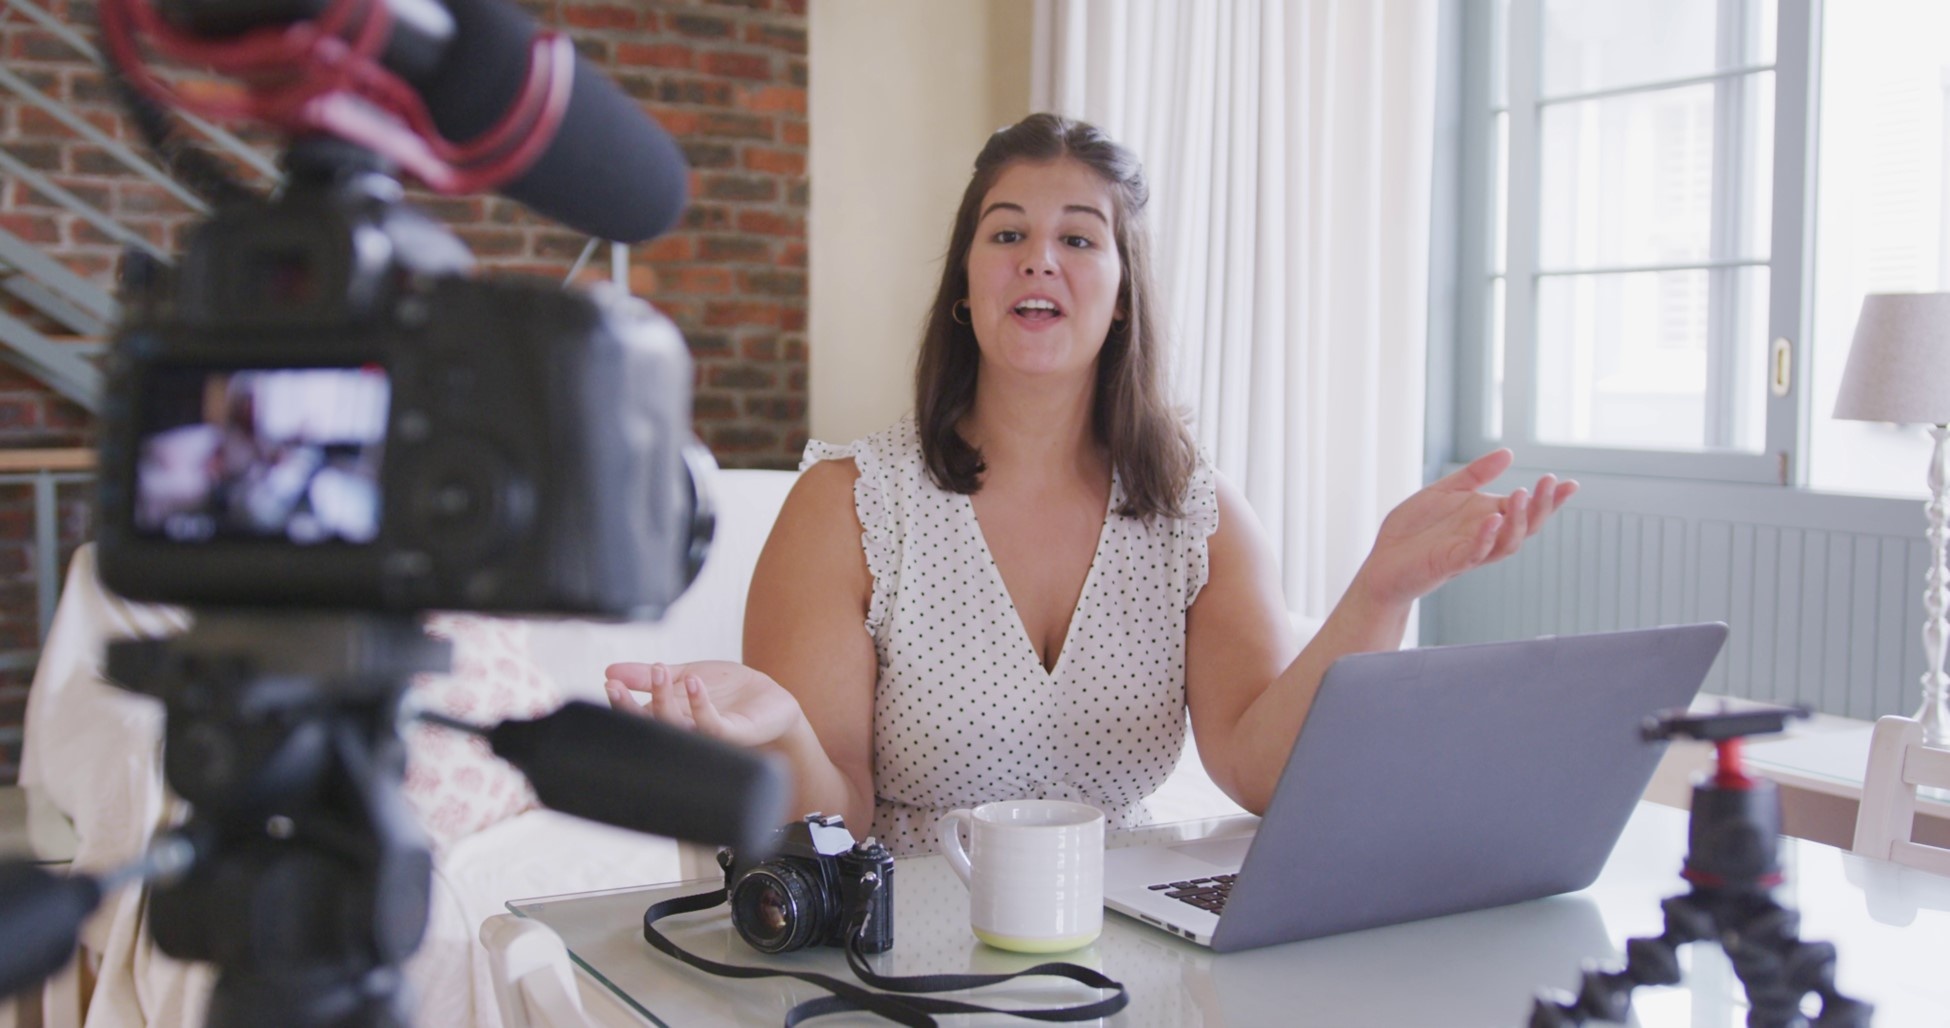
Production tools for recording
- CITL’s Instructor Studio is optimized for self-produced content. Consider an orientation with our team to then dive into self-recording in a studio setting.
- The Library’s Media Commons offers reservable studio spaces and loanable media gear to fit a variety of ideas.
- Illinois Mediaspace (Kaltura): Our media platform on campus offers 3 recording tools. Personal Capture is a desktop app, Express Capture is for recording in your browser, and Kaltura Mediaspace Go (KMS GO) is an app for mobile devices to facilitate either recording and media uploading from that device.
- Zoom: Leverage one of the most ubiquitous meeting tools on campus as a recorder. Cloud recordings of meetings you host are automatically sent from Zoom to your My Media in Mediaspace. You can also access these recordings at zoom.us, especially if you enable recording separate files to edit later.
- Open Broadcaster Software (OBS) is a free, open-source, highly flexible recording and streaming software. Our team offers training and consultation on how this tool can help your unique recording and synchronous teaching needs.
- PowerPoint: There has long existed an audio recorder for slides in PowerPoint. Recent versions of the software also feature a video export option which will string slide audio together into a single, cohesive video file.
Post-Production: Clean up, Editing and Distribution
- Media Editing:
- Adobe Express and Adobe Premiere via Webstore
- Free, Open Source editors like OpenShot or the industry-trusted, advanced-featured Davinci Resolve
- Storyblocks Maker for Faculty and Staff
- Adobe Podcast / Enhance Speech: The Adobe Podcast site contains a suite of online tools such enhancing speech which will upgrade Zoom or webcam audio with simple sliders.
- Stock assets
- Accessibility
- Automatic captioning and caption editing can be done in a video editor like Premiere (see Create Captions in Premiere) but also in Mediaspace (see Quick Captions in Mediaspace).
- Mediasapce
- How to get your videos to your student with Mediaspace Linking and Embedding
- Editing options inside Mediaspace after uploading
- Software training available at LinkedIn Learning.